
Peanut Butter Cups (better than Reese's!)

Updated: 3 days ago
No oven needed! Just a stovetop or hob, or something to melt the ingredients, and the patience to wait for it to set.
Have you ever got yourself a Reece's Peanut Butter cup and thought, "I need many, many more of these", or "what the heck are these ingredients?!" and "I want this to be twice as thick and ten times as tasty". Well, here I am to show you my recipe.
So rich, thick, sweet and delicious, one of these "better-than-Reese's" peanut butter cups is enough for the day!
You will need a muffin tray and some cupcake cases that will fit it.
Linked products:
Stainless Steel bowls - https://link.amazon/B0bMWh6E4
Electric whisk - https://link.amazon/B05FGUxfS
Spatula set - https://link.amazon/B0ignKpzp
Tripod - https://link.amazon/B07t9Q6Dm
Glass Tupperware - https://link.amazon/B0gZnmwRy
1
Coconut Oil
I put this in the chocolate to keep it softer. It's technically optional, but it might be a bit hard and crumbly without it.
2
Before you start
Clear a space in the fridge that will be big enough to fit your muffin tray!
3
Salt
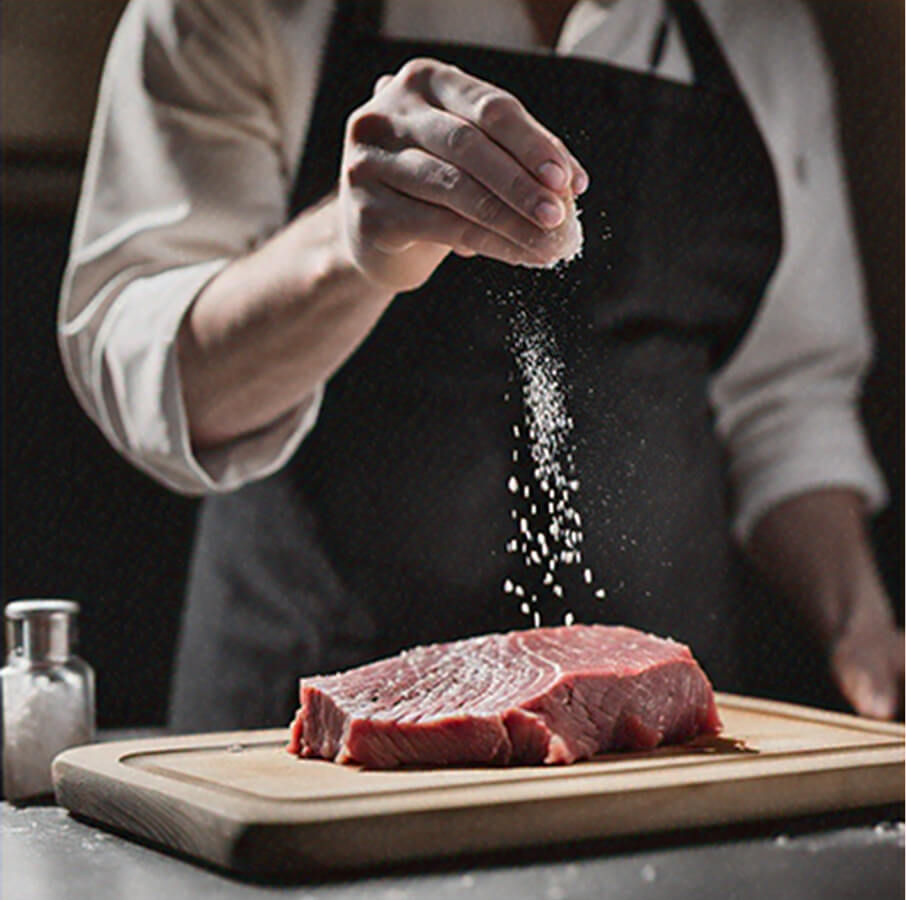
I like to add a few salt flakes to the top of mine, right after pouring on the top layer of chocolate. It makes a nice contrasting bite of flavour.
4
Storage
They can be left at room temperature for a few days, and will last longer in the fridge (but will be much harder to eat straight out!)
Notes


1
Melt all of your chocolate and coconut oil, whichever way works best for you. You won't use all of it in the next step, but there shouldn't be enough time in between steps for it to solidify.
You can melt it in sections if you prefer, or re-melt the mixture for the later step

2
Fill each cupcake case (12) with about a tablespoon of chocolate. Enough for a couple of millimetres at the bottom.
Rotate the case around to get it around the sides too, leaving about a centimetre gap at the top.
Place in the fridge to cool (around 25 mins), while you prepare the filling.
3
For the filling, first melt the butter in a saucepan on the lowest heat, let it go slightly golden, before adding the brown sugar, then the peanut butter. It will be easier to add the icing sugar in sections.
Throughout this process, make sure you're constantly stirring the mixture, and not letting it burn. If it looks like it's cooking before you've added all the ingredients, take it off the heat for a bit, keep stirring.

4
When all the ingredients are added, the mixture should look quite stiff, a little lumpy and crumbly, but mouldable. It will only take a couple of minutes
Leave it to cool, until it gets to room temperature (cool enough to be held in your hands).

5
To fill the cups, take a good chunk of the mixture, ball it up with your hands, and squish it to a disc shape just smaller than the inside of the chocolate cup. It should be a couple of centimetres thick.
Squish it down onto the chocolate base, to remove any air gaps.

6
Take the remainder of your chocolate and pour it over the top of each cup, making sure it is a couple of millimetres of thickness above the peanut butter mixture, and dripping down the edges to prevent any air gaps.
Sprinkle over your salt flakes on the top here (optional).
Leave to set, either in the fridge or on the side. Then devour!
Instructions
500g dark chocolate
25g coconut oil
salt flakes (optional)
Chocolate
250g crunchy peanut butter
60g butter
120g dark brown sugar
120g icing sugar
Peanut Butter Filling

Peanut Butter Cups (better than Reece's!)
Anna

No oven needed! Just a stovetop or hob, or something to melt the ingredients, and the patience to wait for it to set.
Have you ever got yourself a Reece's Peanut Butter cup and thought, "I need many, many more of these", or "what the heck are these ingredients?!" and "I want this to be twice as thick and ten times as tasty". Well, here I am to show you my recipe.
This recipe was developed in grams. For the most accurate results, select the "Metric" toggle and use a kitchen scale.
You will need a muffin tray and some cupcake cases that will fit it.
Servings :
12 cups
Calories:
Prep Time
20 min
Cooking Time
0
Rest Time
4.5 hours
Total Time
5 hours

Comments